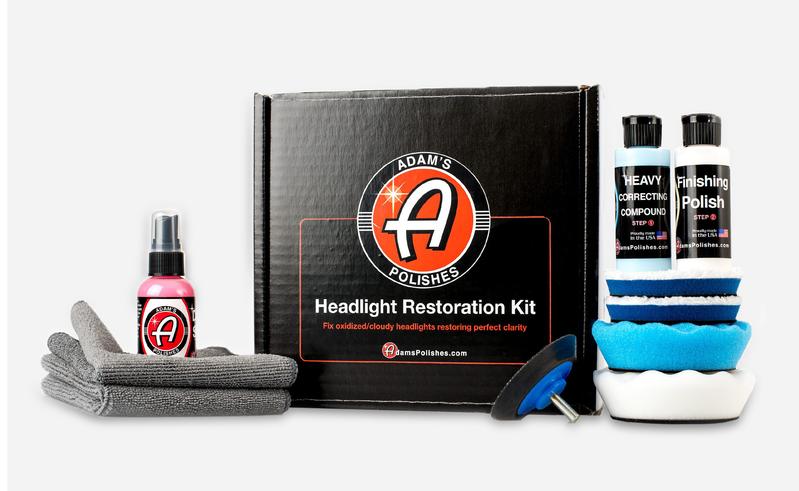
Adam's Headlight Restoration Kit
Restores oxidized, hazy, yellow headlights back to a clear finish.
- Safely and effectively removes oxidation on headlights
- Improves brightness and visibility of lens
- Complete headlight restoration within 30 minutes
- Made in the USA
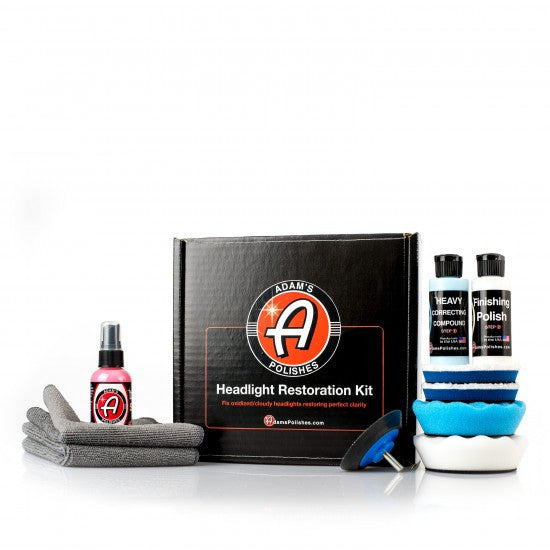
What’s in the box
• Adam’s Heavy Correcting Compound 2oz
• Adam’s Finishing Polish 2oz
• Adam’s Detail Spray 2oz
• Adam’s 4” Cordless Drill Backing Plate
• Adam’s 4” Blue Microfiber Cutting Pad 2-pack
• Adam’s 4” Blue Foam Pad
• Adam’s 4” White Foam Pad
• Adam’s Gray Utility Towel 2-pack
Instructions:
1. Ensure the headlight lens is clean before starting the polishing process. Mist a small amount of Detail Spray onto the lens and wipe clean with a Gray Utility Towel.
2. Attach the 4” Cordless Drill Backing Plate into a cordless drill. Ensure that backing plate is secured in the chuck of the drill.
3. Attach a 4” Blue Microfiber Cutting Pad to the Cordless Drill Backing Plate.
4. If any dark gray or black textured plastic pieces are in the surrounding area of the headlight, treat them with VRT or tape them off with painter’s tape to reduce risk of staining or discoloring these trim pieces by accidental contact with the polishing pads and polishes.
5. Apply 3-4 drops of Heavy Correcting Compound onto the Blue Microfiber Cutting Pad.
6. Press the pad onto several areas of the headlight surface to spread the compound/polish. Smear the product around somewhat by moving the pad, prior to powering on the drill, to avoid splatter and sling onto yourself and other areas of the vehicle.
7. With the pad flat against the headlight and using light pressure to control the drill, power on the drill on a high speed setting, and slowly work the compound/polish into the lens in up/down and left/right motions, several passes in each direction.
8. It is crucial to monitor pad and headlight temperature during the polishing process so that you do not burn the headlight lens or cause any discoloration from too much heat.
9. Wipe away the residue with the Gray Utility Towel. Use a light mist of Detail Spray if the residue is difficult to remove.
10. Remove the Microfiber Cutting Pad, and attach the 4” Blue Foam Pad to the Cordless Drill Backing Plate. Polish the headlight again with the less abrasive pad by repeating Steps 5-9.
11. Remove the Blue Foam Pad, and attach the 4” White Foam Pad. Apply 3-4 drops of Finishing Polish onto the White Foam Pad, then repeat Steps 6-9.
12. Move onto the other headlight. Use the second 4” Microfiber Cutting Pad included with the kit since the microfiber material may be too flattened and matted down from the first pad, and repeat the polishing process in Steps 4-11.
13. After polishing is complete, clean all 4 polishing pads. Generously spray pads with All Purpose Cleaner (not included). Allow it to soak for a few minutes, then run the pads under warm water, using your fingers and thumbs to squeeze the compound and polish from the pads. Once clear water is running through the pads, set them aside to air-dry for 1-2 days.